Djikstra and A* search algorithms

Since we covered navmeshes briefly, I also thought it would be good to provide a quick overview of the pathfinding algorithms that underpin them.

This knowledge will serve as a good jumping off point if you want to delve deeper, but can also be very useful in recognising what might be happening with an AI when they are not behaving as expected.

Djikstra’s Algorithm

This is the most basic search algorithm that we would reasonably use in a 3D video game, and it is very closely related to A* search which is the industry standard algorithm, so it’s a good place to start.

The concept is very simple.

  1. From your starting point you search every adjacent space and place them into a list representing the frontier of the search.
  2. After all of the adjacents have been explored, you search the adjacents of the frontier nodes
  3. You repeat this on and on and on, until you find the goal node
  4. You then recurse back though the adjacencies until you have a path back to the start

dijkstra

A* Algorithm

This is simply an optimisation of Djikstra. It uses a concept called a Heuristic - this is simply an estimation of how close each node is to the goal node. For this example we will use linear distance to the goal node (the most common heursitic).

  1. From the starting point you look for the adjacent with the smallest heuristic value and place them into a list representing the frontier of the search
  2. You then move onto the next node with the lowest heuristic cost
  3. You continue to do this until you reach the goal node
  4. You then recurse back though the nodes until you have a path back to the start

a-star

The difference here is that instead of searching all adjacencies before you expand the frontier, you are trying to guess which direction the search should go in to be successful faster.

Of course this isn’t always optimal, as shown in this example. however it’s an edge case and it still slightly more optimal that Djikstra seaching the same space.

Here our heuristic takes us towards a wall before it finally finds its way around

Djikstra is still less optimal, however.

Navigation meshes explained

As a gameplay scripter we work a lot with AI, and so it’s important to understand the basics of how these systems are put together so we have a better understanding of how to work with them.

A little history

Historically AI navigation was handled with waypoint grids. They use a search algorithm to query the location of an AI and work out what order they need to travel between nodes to get to the desired location, resulting in a path they can follow.

path

This was fine for a long time, until someone came up with the concept of a navigation mesh. These have an enormous amount of advantages we'll cover briefly.

For pathfinding they actually work the same way as waypoint grids, only each point is associated with a convex polygon. An initial path is still calculated using the central points of each polygon.

navmeshpath1

The difference is that the paths then go through two phases of optimisation.

The first is a culling phase, in which the grid works out if there are any unnecessary links.

linkcull

The path then runs a smoothing algorithm using the bounds of the polygons and a radius for the agent to set how extremely or subtly this path is smoothed. phase3

This gets rid of the strange zigzagging we used to see in games - the result of sticking to the links on a waypoint grid.

Further notes

Just on their own this would be enough to use them over grids, but there are some added benefits that come with this implementation.

Path correction
AI can use the knowledge of polygon bounds to correct their paths around obstacles, as long as they can remain within the bound of the mesh.

aroundbox

Smarter actions
The AI can make sure that they have enough space to complete an action, such as a dodge-roll, so that they avoid doing stupid looking things like rolling into a wall, or worse - rolling off an edge.

moves

Extensibility
Navmeshes allow for multiple agents with different navigation requirements, such as larger or smaller AI's, or AI's that have restrictions based on turning circles (things like planes, boats or vehicles), therefore allowing all of them to use one set of navigation data.

footprint

Delta time

The following is part of an ongoing series of basic tutorials for gameplay scripters.

Delta time is a simple but fundamental aspect of how we program in games.

Simply - delta time is the measure of how much time has passed between each frame. Updates aren't fixed (they can take different times to complete), because of this, if you are moving an object a fixed amount each frame, it will actually move at a variable speed.

What you really want is to be able to move something at a constant speed.

The solution is simple: We measure the amount of time passed in milliseconds since the last frame and we multiply it by our delta time.

This means that if a frame takes more time to complete, your object will move further to compensate.

SudoCode
object's position + increment * delta time

Unity C#
myObject.transform.position += myVectorOffset * Time.deltaTime;

UE4 Blueprints delta seconds

tick

bt tick events

Scripting Handbook: Vectors

The following is part of an ongoing series of basic tutorials for gameplay scripters.

In maths a vector represents a line that has a direction and magnitude (length).

Programmatically a vector is a list of numbers, for our purposes we mostly use vectors that hold 2 or 3 numbers, with a so-called 2D vector holding two numbers, representing X and Y, while a 3D vector holds 3: X, Y and Z.

What this means practically, is that we often use vectors to hold a position in X, Y and Z. This however, is not traditionally what we mean when we’re talking about a mathematical vector. image03

A true vector, the line with direction and magnitude, often represents a displacement - a set of instructions that describes how far and in what direction we should move.

How the data is stored does not change, whether we are storing a displacement or a position. If you look at the above image, you can see two quite different things. A point at 3, 2 and a 3, 2 vector. We would actually store these things in exactly the same way, it is our use of it that changes what that vector actually does.

It is also worth noting that a vector in programming languages simply refers to a one-dimensional array, (single list) or numbers. A vector as the concept we are talking about here, again just refers to how you use it.

You can see from this image a number of differences. A point does not store any kind of information about heading and has no length. A vector on the other hand, has no knowledge of where it is in the world, it simply represents a set of instructions on how to move from any point.

Vector Terminology Magnitude / Length - refers to the length of the vector from start point to end point.

2D Calculations


SudoCode

√ (x * x + y * y)

Unity C#
by accessing the magnitude variable in your vector -
myVector.magnitude;

UE4 Blueprints image01


3D Calculations


SudoCode

lengthOfAdjacentSide = √ ( (x * x + y * y) )

√ ( lengthOfAdjacentSide * lengthOfAdjacentSide + z * z)

image04

The picture above should help explain this sudocode. You are trying to work out the length of a 2D triangle described by the dashed lines. You know one size because it’s simply the Z value. The other side, the one marked adjacent, is actually the length of a 2D vector laid flat.

Unity C#


by accessing the magnitude variable in your vector
myVector.magnitude;

by calling a static function in the vector library
Vector3.Magnitude( myVector );

UE4 Blueprints

image02

Featured on Gamasutra

You can now view the previous blog post as a featured article on Gamasutra! If you so choose... gamasutra_logo

Four-Step Puzzle Design

Good puzzle design gives a player that moment of epiphany, where suddenly all is clear, and the following satisfaction when your put your solution in place, and it works!

During my time working on Disney Infinity, I began to see that a lot of game puzzles, including many of our own, missed this mark. Even puzzles in some of my favourite games often left me feeling unsatisfied. The reason was simple - I kept finding myself solving puzzles through experimentation or trial and error without fully understanding either the objective or the true nature of the puzzle itself.

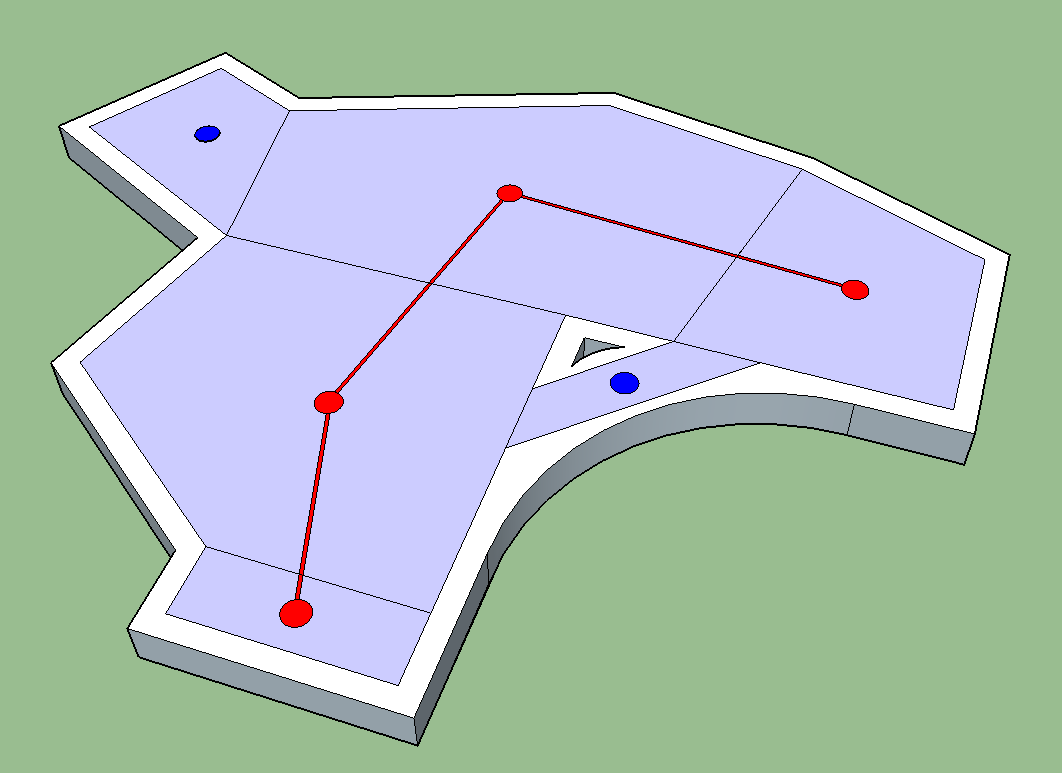
Consider this extremely simple and often seen game puzzle:

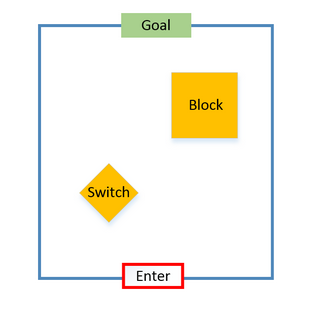
You walk into a room and see a heavy box and a weighted switch. You move the box onto the switch. A cutscene plays showing a door opening you haven't really registered before. You solved the puzzle before you even knew there was one. You feel cheated because if you had realised, you would have been capable of solving it. Even in a situation as simple as this, there is a better way.

basic puzzle


Because of this I developed four steps to deal with this problem, they may seem obvious at first but it’s amazing how many puzzles, simple and complicated, fail this simple test.

Step one - the player understands the objective clearly.
You’d think this would be an obvious one, but time and time again we encounter design that skips this basic step, leaving players unsure why they’ve been presented with the elements of a puzzle in the first place. As gamers, we know when we encounter a puzzle we are meant to solve it, and so as a designer it's easy to lean on that fact and overlook this fundamental step. Clearly communicate the problem FIRST. Example: There is a locked door you need to get through.

Step two - the player discovers the pieces of the puzzle needed to solve it.
Basic things like switches and levers. Note though that it is OK if these objects need to be experimented with in order to discover their true function. Note too the emphasis on this ordering. You discover a problem that needs a solution AND THEN you notice the puzzle that needs solving.

Step three - the player notices the association between the components and works out a solution in their head.
This is an important one, though there are a few caveats I’ll discuss later. The player must be able to think of a solution before implementing it. What this essentially means is that they are not forced to solve the puzzle with simple trial and error. It may be POSSIBLE to solve with experimentation, but the key point is that it is not necessary. The puzzle is readable.

Step four - the player implements the solution and solves the puzzle
Again, obvious, but it exists as a reminder that working out a solution and implementing it are two separate stages.

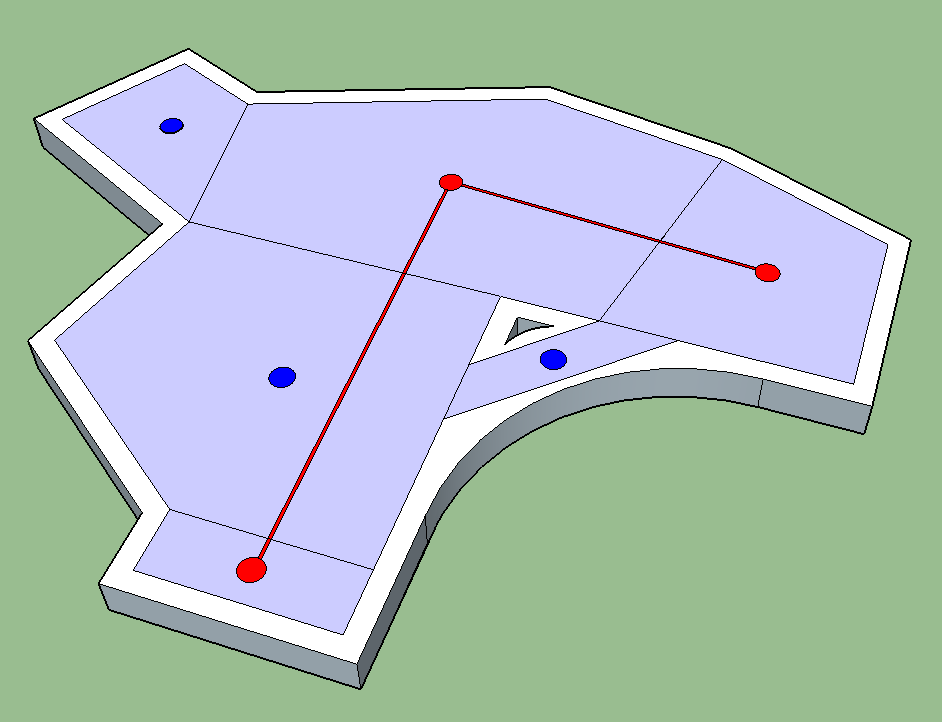
Now consider this reworking of the same simple puzzle:

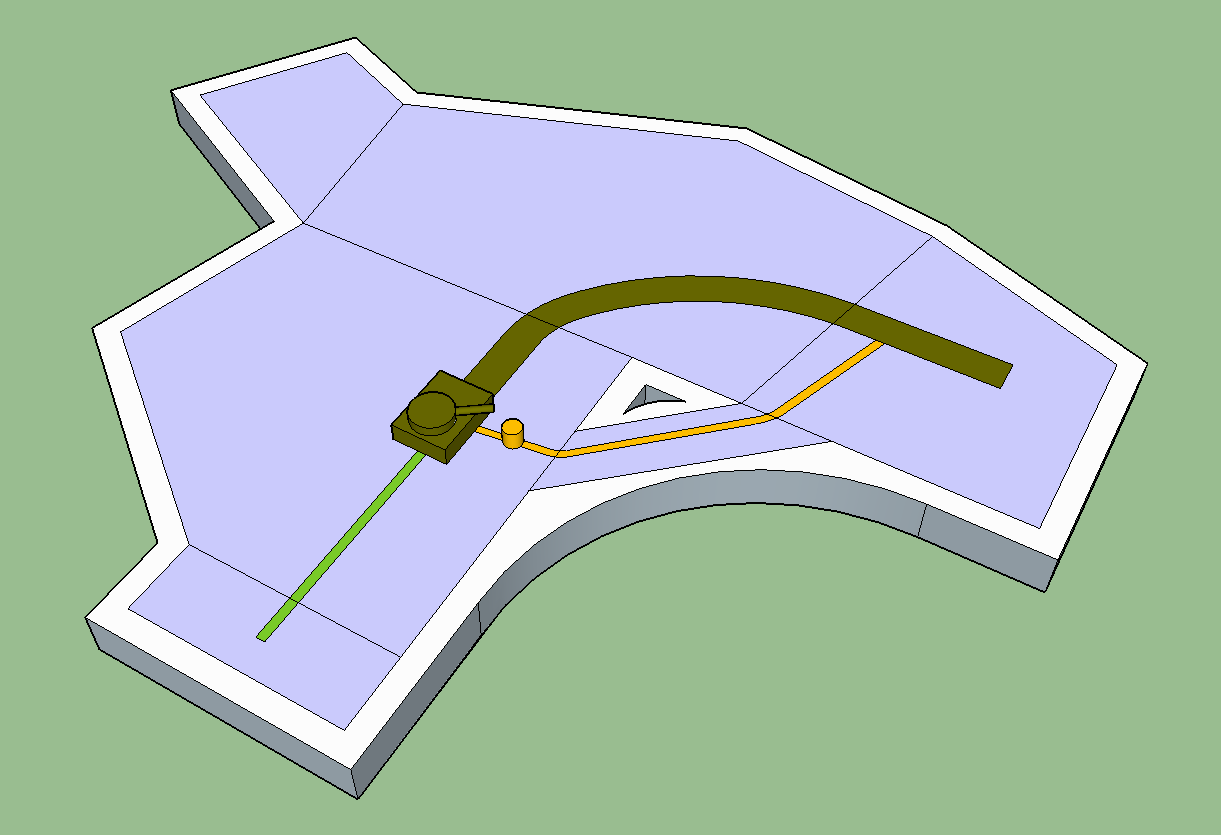
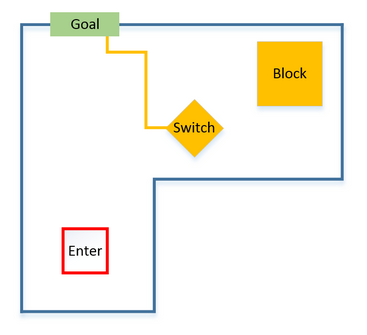
You drop into a room and observe a locked door which seems to be the only way out (step 1). After exploring more you then find a heavy box and a weighted switch that weren't immediately visible from where you entered the room (Step 2). You see a line from the switch to the door and deduce their association. After standing on the switch and observing no movement you guess the heavy crate might do the trick (Step 3). You move the box onto the switch and the door opens (Step 4). You feel a small amount of satisfaction that you were presented with a challenge, solved the problem and are now able to progress.

Note too the readability of the connecting line linking the switch and the door, and the fact that we drop in to this room, ensuring that the player cannot mistake the entrance for the goal.


Now we can see that the original room had us noticing the puzzle elements first (Step 2), solving it (Step 4) and only then realising what our objective was all along (Step 1) and finally gaining a true understanding of what the puzzle had been and why your solution worked (Step 3).

There are a couple more things it's important to keep in mind.

First of all it's important to remember that experimentation can be a fun mechanic. These steps do not mean that everything has to be immediately obvious. It's fine to create a room in which each puzzle component, each switch and lever has to be experimented with to see what it does. The important part is that once the true functionality is discovered, the player can work out a solution.

Now that's not to say that confusing situations, games of chance or trial and error as a game mechanic don't have their place, but they are not puzzles. There is a difference between a maze and a labyrinth. Simply be aware of what experience you are trying to give the player and mould the gameplay to that goal.

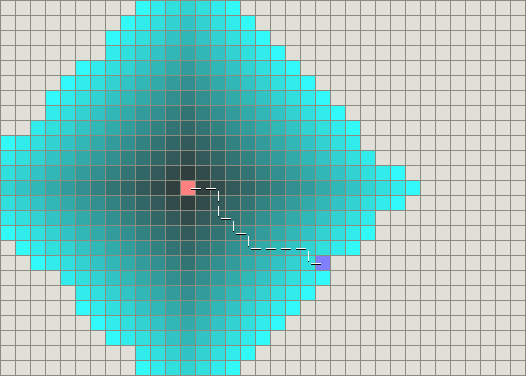
The other caveat to this system are complex puzzles that are too large for the solution to be calculated and held in the player’s mind at once. There are many examples of these we've all come across before - a Rubik's cube or a Sudoku puzzle for example.

But here we can see that each stage in the greater puzzle is in itself a small 4 step loop. Every number written on the page in a Sudoku solution is a tiny calculation and solution that can be put in place and saves the progress of the puzzle and brings the overall solution closer.

This concept of incremental progress in more complex puzzles is an import at one, otherwise the player can feel lost and frustrated in the face of seemingly endless combinations. Most of us will have at some point fallen back to brute-force trial-and-error in a point-and-click adventure when the puzzles true goal has eluded us, and this is always very tiresome.

Playtesting

Finally, a note on testing. Just because someone can get through a puzzle does not mean it's a successful one. The joy of a puzzle is in solving a problem, if the problem is only understood in retrospect the puzzle is not successful. Time and time again I have seen confusing game design make it into a final product simply because the player is, after some time, able to solve the puzzle by mistake.

There are thankfully many solutions, asking the player to explain what they did after they've finished the puzzle and why they did it can be incredibly valuable. Also having them do this while watching a replay of themselves will often prompt their memory.

Another good technique is to sit with a player and ask them to think aloud while they attempt the puzzle.

So those steps again:

  1. The player understands the objective.
  2. The player discovers the puzzle.
  3. Step three - the player works out a solution in their head.
  4. The player implements the solution and solves the puzzle.

Attempting a puzzle is essentially an attempt to find a solution for a problem, so make sure the problem is clear. No one would attempt to solve a Rubik’s cube if it wasn’t for the coloured stickers on each piece.